
You can grow your first vegetables this season with a sunny spot, a 4×8-foot bed, and a few easy crops. That’s it. No fancy equipment, no gardening degree. Most beginners can get a small bed set up in a weekend, and the real work after that is just watering and paying attention.
Here’s why that simple recipe works. Most vegetables need 6 to 8 hours of direct sunlight a day, so picking the right spot matters more than almost anything else you’ll do. A 4×8-foot bed is a manageable size for a first year, big enough to give you a real harvest and small enough that you won’t feel buried in weeding. Whether you plant in the ground, in a raised bed, or in containers on a balcony, the same basics apply: good soil enriched with compost, the right timing for each crop, and regular watering.
Maybe you’ve wondered if you’re the sort of person who can keep plants alive. Almost everyone who’s ever grown a tomato started out wondering the same thing, and community gardens across Canada are full of neighbours who learned by trying, swapping seeds, and sharing what worked. Growing food the sustainable way, feeding your soil with compost and wasting little, is a habit you can start from day one.
Below, you’ll find the tools you need, a simple seven-step plan from choosing a location to caring for your plants, and a few cautions to keep your first season stress-free.
What You’ll Need Before You Dig: Tools and Materials for Your First Garden
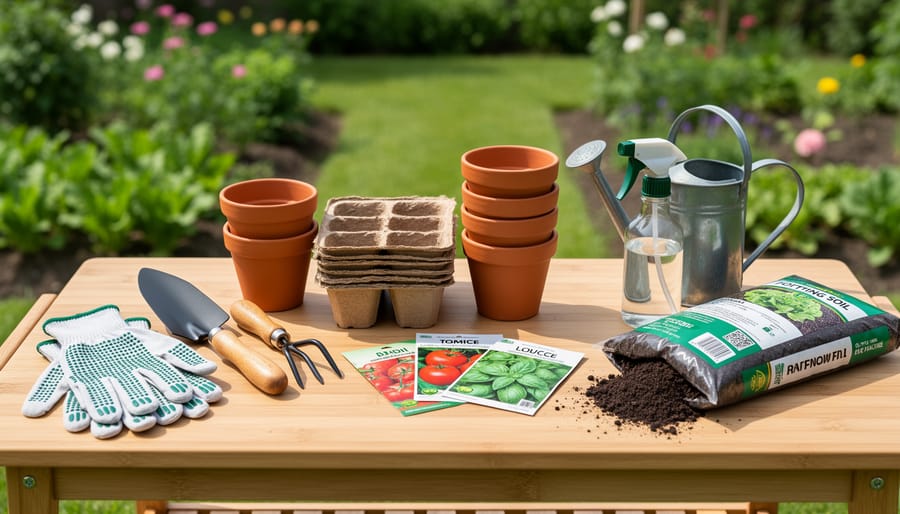
Starting a vegetable garden doesn’t mean buying a shed full of gear. A short list of basics will carry you through your first season, and most of it is easy to borrow or share.
Here’s what a beginner really needs:
- A hand trowel, which is a small hand shovel for digging planting holes.
- A pair of comfortable gardening gloves to protect your hands.
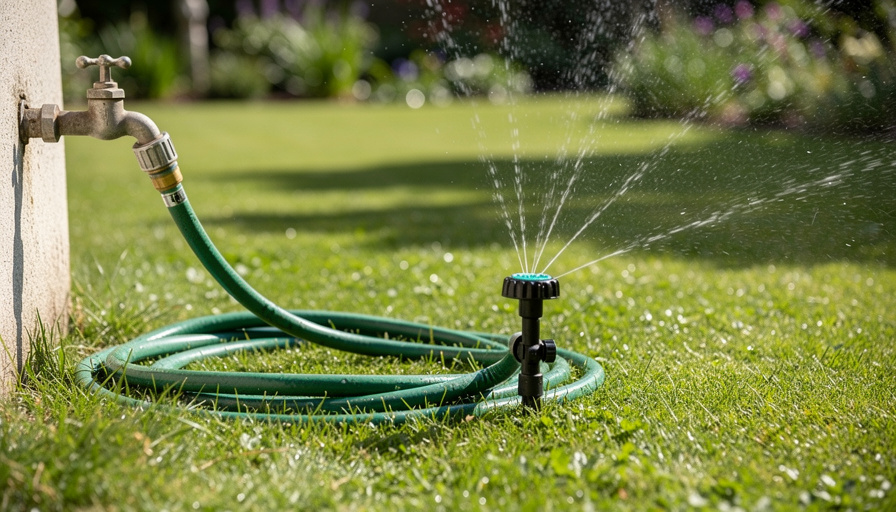
- A watering can or hose with a gentle spray setting.
- Compost or a quality soil mix to feed your plants.
- Seeds or young plants to get your garden growing.
- A bed frame or a few containers, if you’re not planting straight into the ground.
A couple of those terms are worth a quick explanation. Compost is simply decomposed organic matter, like kitchen scraps and yard waste, that has broken down into dark, crumbly, nutrient-rich material. Mixing it into the ground, or using a soil mix for raised beds, gives your vegetables a healthy start. A transplant is a young plant that has already been started for you, so it has a head start compared with a seed.
You also don’t need to buy everything new. Neighbours often have spare trowels or watering cans collecting dust, and community gardens are wonderful places to share tools and swap tips. Asking around is a friendly way to save money, cut down on waste, and meet fellow growers at the same time.
Your Step-by-Step Plan for a Beginner Vegetable Garden
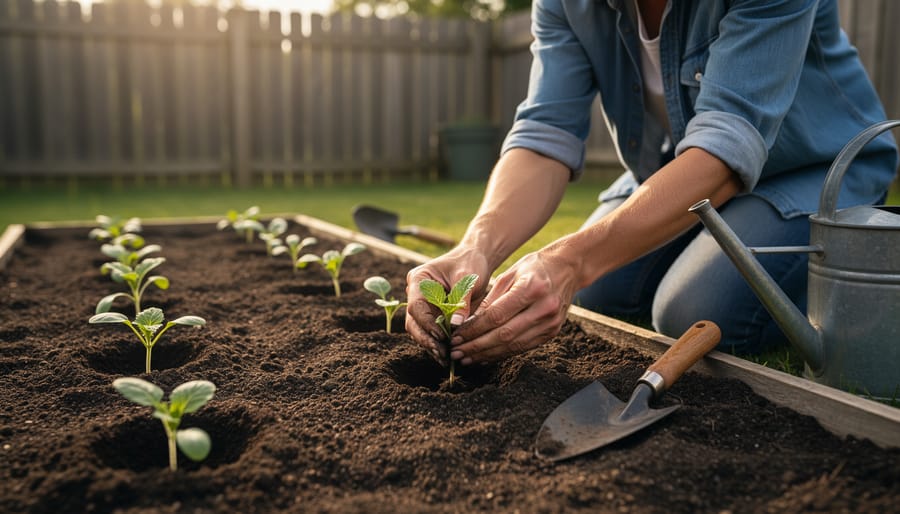
Step 1: Find a Sunny Spot That Works for You
Most vegetables need six to eight hours of direct sunlight a day, so the best first step is simply to watch your space. Pick a sunny day and check the spot every couple of hours, noting where the light lands in the morning, at midday, and in the late afternoon. A yard, a balcony, and a community plot can all work, but the sunniest patch is often not the one you’d guess.
Tricky spaces are very workable. A shady corner can still hold leafy greens, while a bright balcony suits containers you can nudge toward the light. Even a small yard can support front-yard veggie growing if that’s where the sun shines.
If your home doesn’t get enough sun, a community garden can give you a bright plot and some friendly neighbours to learn from.
Step 2: Choose In-Ground, Raised Beds, or Containers
Here’s the good news: there’s no single right way to grow vegetables. You can plant straight into the ground, build a raised bed, or tuck containers onto a sunny balcony, and all three work beautifully.
In-ground gardening is the simplest to start if you have the yard space. You just mix compost into the soil you already have. Raised beds give you a defined, tidy spot with a ready-made soil mix, which many beginners find less overwhelming. Containers are perfect for small spaces, patios, and balconies. If you go that route, it helps to choose garden pots with good drainage and enough room for roots.
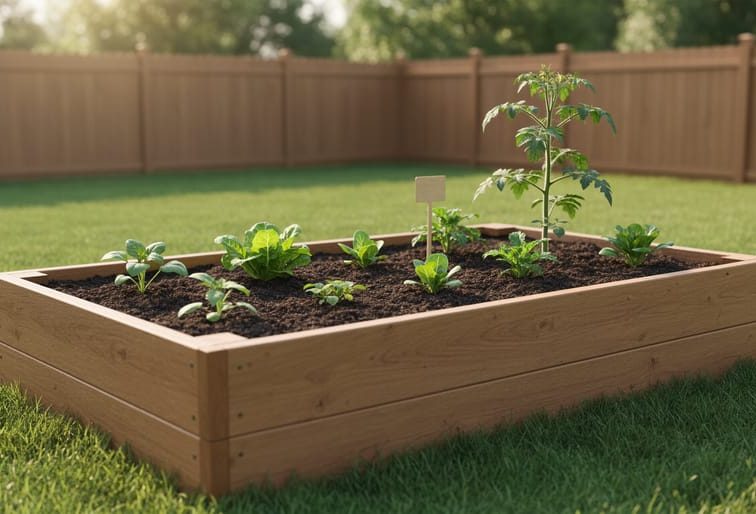
Size matters less than you’d think. A 4×8-foot garden bed is plenty for your first season, so please don’t feel pressured to dig up the whole lawn.
Here’s how the full beginner journey fits together:
- Choose a sunny location with 6 to 8 hours of direct light.
- Choose a garden type: in-ground, raised bed, or containers.
- Pick easy vegetables you’ll actually enjoy eating.
- Prepare the soil by mixing in compost or using a quality soil mix.
- Time your planting using a regional planting calendar.
- Plant seeds or young transplants with a little room to grow.
- Water regularly and care for your garden as it grows.
Pick the option that fits your space and energy, and you’re already off to a great start.
Step 3: Pick Easy Vegetables to Grow First
Not every vegetable is equally forgiving, so start with the ones that are. Lettuce and radishes grow quickly, which means you’ll see results within weeks and feel that first happy jolt of success. Bush beans are another friendly choice, and tomatoes reward a little patience with fruit you can eat right off the plant.
Here’s my best advice: grow what your family actually enjoys eating. A garden full of vegetables nobody touches won’t keep you motivated. If your kids love snacking on cherry tomatoes or you toss a salad every night, begin there.
Start small, too. A 4×8-foot bed is plenty for your first season, and you don’t need to fill every inch. Choose three or four crops, learn how they behave, and build confidence. You can always add more next year, and most gardeners do.
Step 4: Prepare Your Soil with Compost
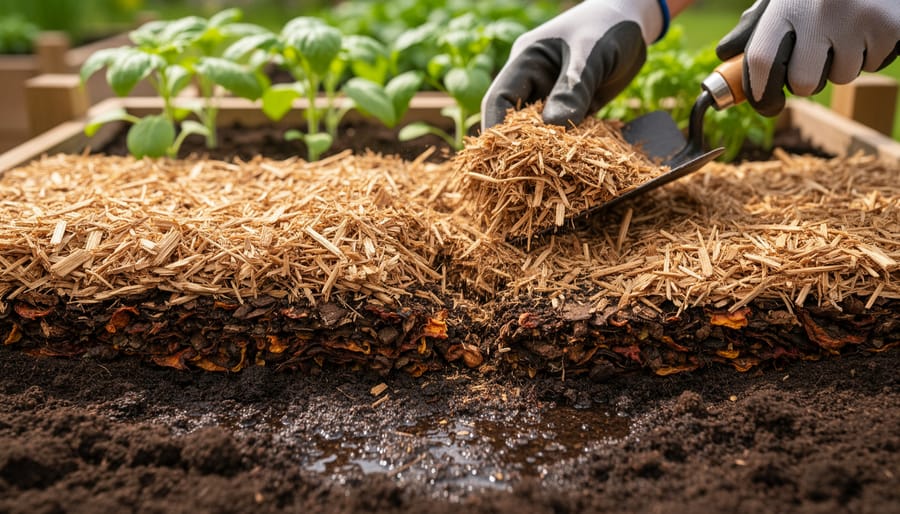
Healthy soil is the secret behind strong, productive plants, and the easiest way to improve it is with compost. Think of compost as a nourishing snack for your garden: it feeds the roots, helps soil hold moisture, and keeps the ground loose enough for plants to settle in.
If you’re growing in the ground, spread a few inches of compost over your bed and mix it into the top layer of soil with a garden fork or shovel. If you’re using raised beds, fill them with a quality soil mix instead, since it’s already light and ready to plant.
Want a sustainable option? Start your own compost pile. Kitchen scraps like vegetable peels, coffee grounds, and eggshells, along with fallen leaves, can turn into rich homemade compost over time. It keeps waste out of the bin and gives your garden a free boost.
Step 5: Time Your Planting Right
When to plant is the part that trips up a lot of first-time growers, and the honest answer is that it depends on where you live. Canada is a big place, and a spring-like day in one region can be weeks away in another. A planting calendar takes the guesswork out by showing when each vegetable can go into the ground in your area.
Start by finding out which zone you’re in. A good gardening zones map helps you match your local climate to the right planting window. Then check a regional planting calendar before you sow anything.
Your neighbours are a wonderful resource, too. Local gardeners and community garden members know your soil, your frost patterns, and what thrives nearby. Ask them what worked for them last year!
Step 6: Plant Seeds or Young Plants
You can start your garden two ways, and both work beautifully. Growing from seed is budget-friendly, gives you far more varieties to choose from, and works well for fast crops like radishes, lettuce, and beans. Buying young plants, called transplants, gives you a head start, which is a real comfort for first-timers, especially with tomatoes that need a long season.
Whichever you pick, a few simple habits help. Read the seed packet or plant tag for spacing, since crowded plants compete for light and water. Plant seeds at the depth the packet suggests, and water gently so they don’t wash away. When setting out transplants, loosen the roots a little and water them in well. If you’re wondering which veggies make good neighbours, a companion planting chart can take the guesswork out of your layout.
Step 7: Water and Care for Your Growing Garden
Once your plants are in the ground, the best thing you can give them is a steady routine. Water regularly, ideally deep and slow, so moisture reaches the roots instead of just wetting the surface. A rain barrel is a lovely, sustainable way to collect free water for the job, and if you’d like to automate things down the road, take a look at smart garden irrigation options.
Spread a layer of mulch around your plants. It keeps the soil cool, holds in moisture, and cuts down on weeds. Pull any weeds that do pop up while they’re small, and glance over your leaves each time you visit. If something looks off, it’s simply a chance to learn and adjust. Remember, showing up consistently matters far more than getting everything perfect.
Garden Safely: A Few Gentle Cautions for New Growers
A few simple habits keep gardening enjoyable, especially in your first season.
Start with your body. When you lift a bag of compost or soil, bend your knees and keep the load close rather than twisting from the waist. Kneeling on a folded mat or using a small stool saves your back during long planting sessions. And if something feels too heavy, ask a neighbour to lend a hand. That’s half the fun of gardening together.
Mind the sun and the heat. Most vegetables love 6 to 8 hours of direct sunlight, but you don’t have to match them. Work in the cooler morning or evening hours when you can.
Wash your hands after you garden and rinse your harvest well before eating. Use tools the way they’re meant to be used, and put them away so no one trips over them. If you keep fertilizers or other garden products, store them out of reach of children and pets. If you’re ever unsure about something, ask an experienced gardener. Most are glad to share what they know.
Growing Together: Stories from Community Gardeners
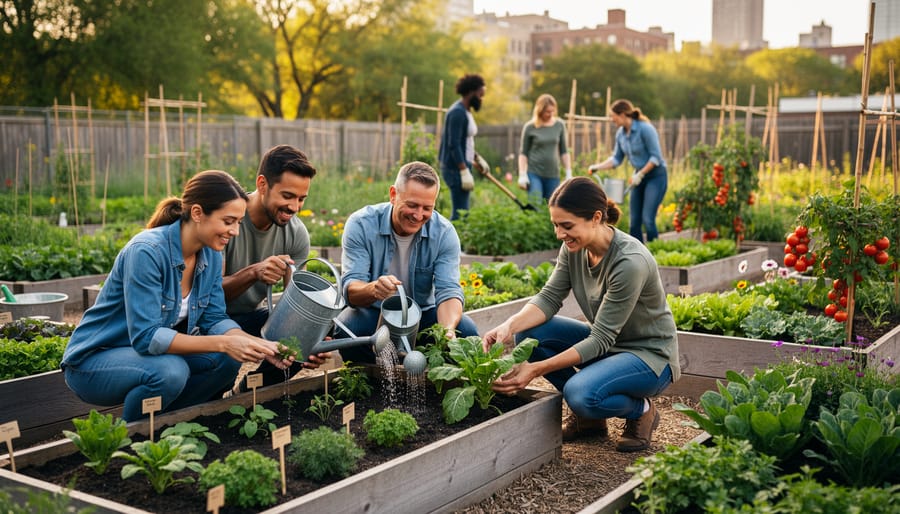
Picture a first-time grower standing at the edge of a shared garden, unsure which end of the trowel to hold. It’s a common feeling, and it fades faster than most people expect. Someone nearby offers a few spare seedlings. Someone else shows how deep to tuck them in. By the end of the afternoon, the newcomer has planted a row of lettuce and made a few friends.
That’s the heart of community gardening. Mistakes feel smaller when they’re shared, and wins feel bigger. A wilted bean plant becomes a story everyone’s been through, not a failure. Meanwhile, the experienced gardeners get to pass along what they’ve learned, which is its own kind of joy.
Workshops and volunteer days give beginners a gentle way in. You can watch how compost gets turned into the soil, see how neighbours water and weed together, and ask all the “silly” questions you like. Many growers say the confidence they gain comes less from the vegetables than from the people beside them.
If you’d like that kind of support, the Gardening Life Community Project is a welcoming place to start. Explore its resources, visit the community garden, and keep an eye out for volunteer opportunities as they come up. And remember, even a single 4×8-foot bed shared with good company can be plenty for a first season.
Is Your Garden on Track? How to Check Progress and Plan Your Next Steps
So, how’s your garden doing? A few weeks in, it helps to pause and take a quick look. Strong seedlings usually stand upright with sturdy stems and healthy colour, and good watering means the soil feels evenly moist a finger’s depth down rather than soggy or bone dry. Don’t worry if things look a little uneven. Every gardener learns by watching.
Here’s a simple checklist to walk through:
- Your plants are getting steady sun, around 6 to 8 hours of direct light a day.
- The soil stays evenly moist, not waterlogged or cracked.
- Leaves look healthy and green, without lots of yellowing or spots.
- Plants have enough room to grow without crowding each other.
- You’re keeping a simple garden journal to remember what worked.
If something’s struggling, change one thing at a time. Droopy plants might want a more consistent watering routine, and pale leaves can mean the soil would welcome another handful of compost. Crowded seedlings often just need thinning or a bit more space. Small tweaks go a long way.
Jot down what you planted, when you planted it, and how it did. Even a few lines in a notebook will make next season easier, and you’ll be glad you did.
If you’d like guidance at your own pace, the Vegetable Gardening Made Easy online course is self-paced and covers what you need to grow vegetables for you and your family. And remember, you’re not doing this alone. Swap questions and stories with fellow growers in the Gardening Life Community Project, because someone nearby has almost certainly faced the same puzzle.
Beginner Vegetable Gardening: Your Questions Answered
Starting a garden brings up plenty of questions, and that’s a good sign. Here are answers to the ones new growers ask most often.
How big should my first garden be?
Smaller than you think. A 4×8-foot bed can be plenty for your first season, and a modest space is easier to care for while you build confidence.
How much sun do vegetables need?
Most vegetables want 6 to 8 hours of direct sunlight each day, so pick the brightest spot you can find.
Can I garden in containers?
Absolutely. You can grow vegetables in the ground, in raised beds, or in containers, which makes pots a great fit for balconies and small yards.
Should I start from seeds or transplants?
Either works. Seeds let you grow from the very beginning, while young plants (transplants) already have a head start and can feel easier for a first try.
If a question isn’t covered here, don’t worry. Every gardener has been where you are, and asking a neighbour or fellow grower is one of the best ways to learn. Whatever you decide about size, sun, or seeds, remember that regular watering and a little patience matter more than getting everything perfect on day one.
So there you have it: find a sunny spot, pick a bed or containers, choose easy crops, enrich your soil with compost, time your planting, sow seeds or set out young plants, and water with care. That’s the whole path, and none of it requires a big yard or a perfect plan. A single 4×8-foot bed is plenty for a first season, and a few pots on a balcony count just as much.
Start small, stay curious, and give yourself permission to learn as you go. Every seasoned gardener has a first wobbly row of radishes somewhere in their past.
We’d love to hear how your garden grows. Share your first-garden story, whether it’s a triumph or a funny flop, and join the Gardening Life Community Project to swap tips with neighbours who’ve been exactly where you are. Grab your trowel and come grow with us!